Building the King: A Look at the Godzilla (1993) Plastic Model Kit
From Box to Beast: Building the Godzilla (1993) Plastic Model Kit
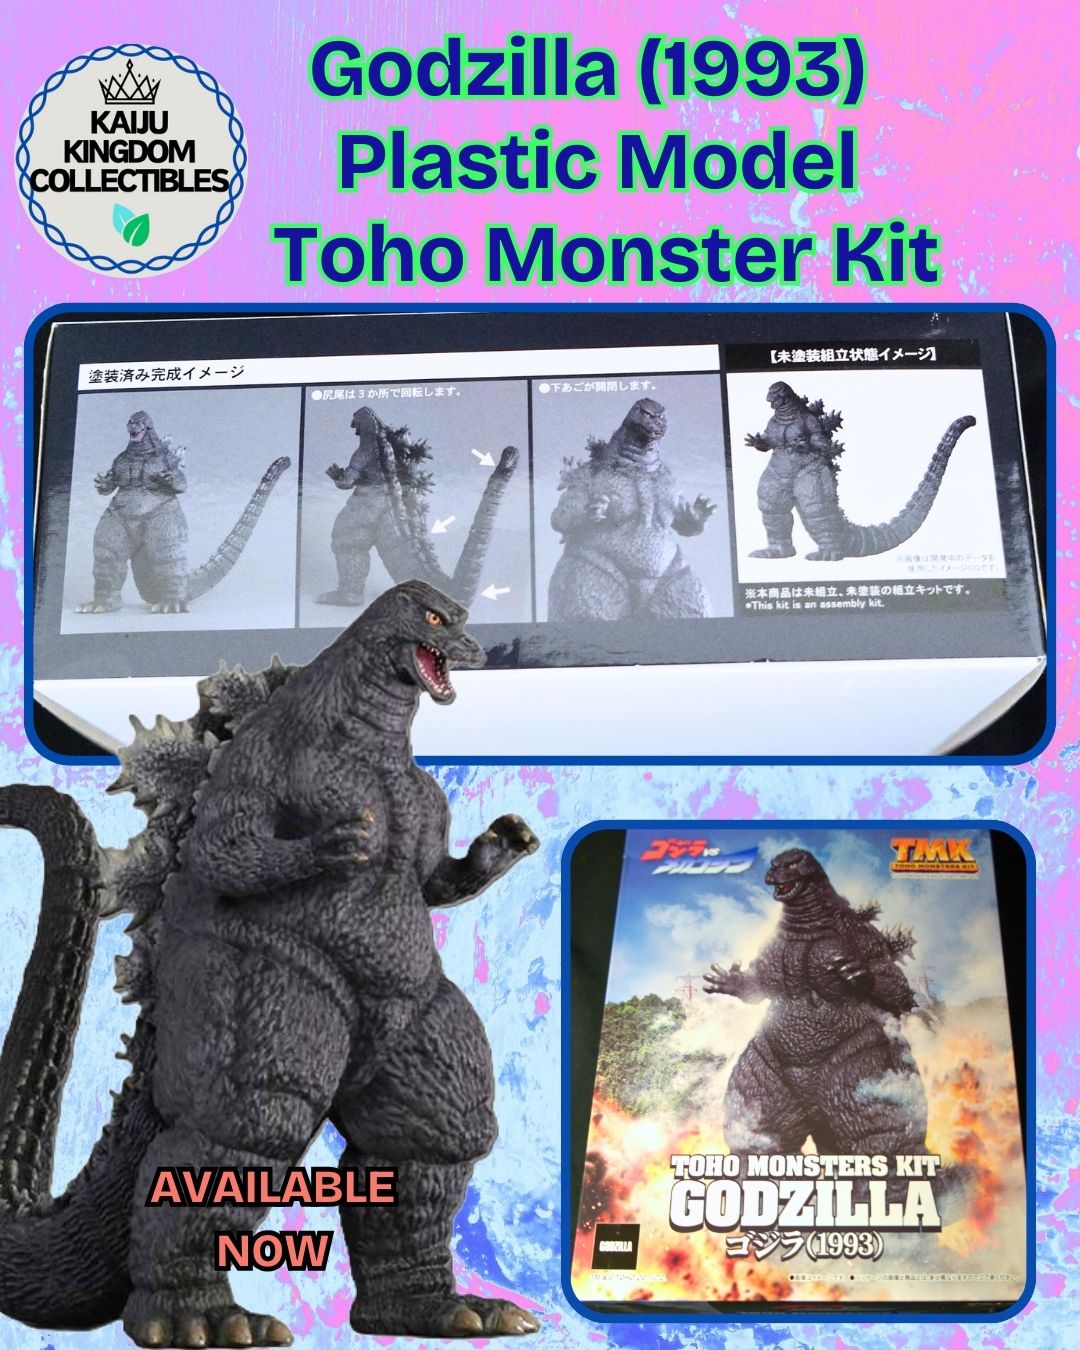
The Godzilla (1993) Plastic Model Toho Monster Kit lets fans bring the Heisei-era King of the Monsters to life. Here’s a quick step-by-step to help you get started:


1. Unbox & Organize
Lay out all parts and check them against the instructions. This should be simple enough, only a few pieces!
2. Prep the Pieces
Trim excess plastic, sand rough edges, and wash the parts for better paint adhesion. We recommend an x acto knife and some model trimmers.
3. Build the Body
Assemble the torso, legs, and tail first. Use plastic cement for strong, clean seams. Tamiya or Estes makes good adhesives for models.
4. Add the Details
Attach the arms, head, and iconic dorsal plates carefully for the best fit.
5. Paint & Finish- Use an air brush if you can!
-
Base: Charcoal gray/black
-
Highlights: Lighter gray
-
Dorsal Plates: White-silver with blue accents
-
Eyes & Claws: Yellow eyes, bone claws
6. Display with Pride
Protect your work with a matte topcoat and set Godzilla on a display stand or diorama. Be sure to have some compressed air handle as well as a duster to keep the model in top shape!
In just a few steps, you’ll transform a box of parts into a towering Heisei Godzilla centerpiece.